
Slide background plays a vital role in delivering a good-looking presentation. A good selection of background can really make your content stand out.
When I started working with presentation design, choosing a suitable background for my slide was a very tricky and time-consuming task for me. However, I have found some great tips and suggestions for slide background to share on this blog post.
Technical steps to format slide background
First things first, let’s start with the steps to insert background to PowerPoint slides. Generally, there are two different ways to add slide background to your presentation.
1. Using Format Background
When you navigate to Design tab on PowerPoint, you will see the Format Background on the left. The Format Background panel will appear with different options for slide background: Solid color, Gradient fill, Picture or texture fill, Pattern fill. Depends on the option you choose, you might need to pick either a single color, a gradient, a picture or texture or a pattern for you slide background.

However, I hardly use this panel since once you choose an option (for example, solid color), it is quite time-consuming for me to choose another color if needed. It is also less flexible since once you choose a picture to be a background, it will automatically crop the photo out to be fit with the slide, and it is quite complicated to crop it another way.
This way works when you have already decided a fixed slide background and you know you would not need to adjust or format it later on. Because it is fixed, it will always stay on the back of all elements on the slide. You might avoid the problem of accidentally move the background or have the texts appear behind it.
2. Drag-and-Drop Background
This is my preference. I just need to drag the photo/texture/etc to PowerPoint window. It will be much easier for me to adjust the background if needed. However, there are also disadvantages to this method.
First and foremost, you might accidentally move the background or mess up with the order of the elements on the slide.
In addition, if you want a single color to be the background color, you might need to insert a full-bleed rectangle with that color to be the background. If you want a photo to be the slide background, you will also need to crop and resize it manually so that it fits the slide.
Suggestions to slide background
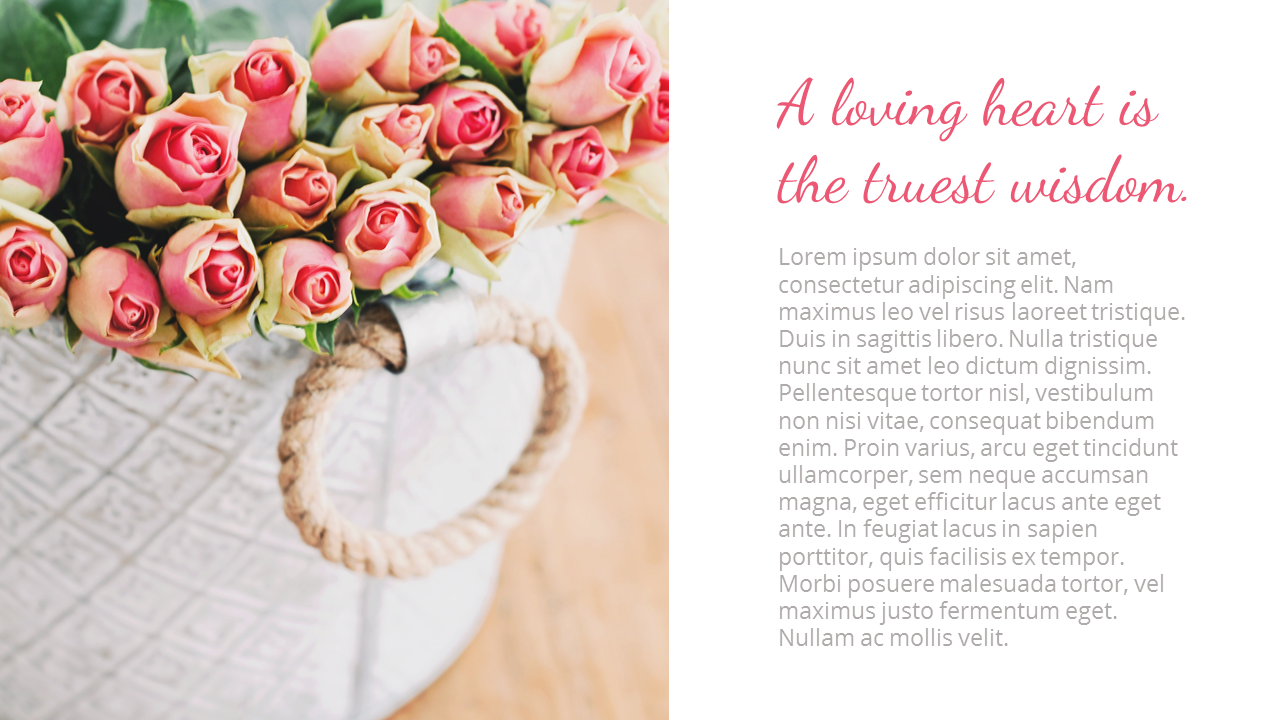
1. Using a single photo as slide background
This is my favorite option when I need to choose a background for my slide. Some good-looking, free images sources you can find in my previous blog post: 12 Fascinating Free Stock Photo Sites
There are different ways to edit a photo to be suitable with the content.
If the photo provides good contrast and wide space for contents, you can consider using a photo without any formatting needed.
However, if the photo does not meet the requirements above, you can experiment other techniques.
I usually decide to darken or lighten the photo by inserting a full-bleed black or white rectangle with transparency ranging from 20-50%. You can adjust the transparency of the rectangle by right click at the shape and choose Format Shape.

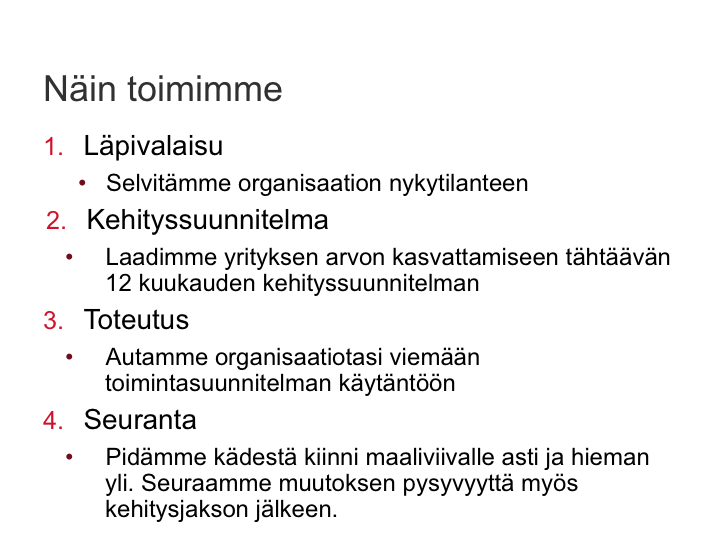
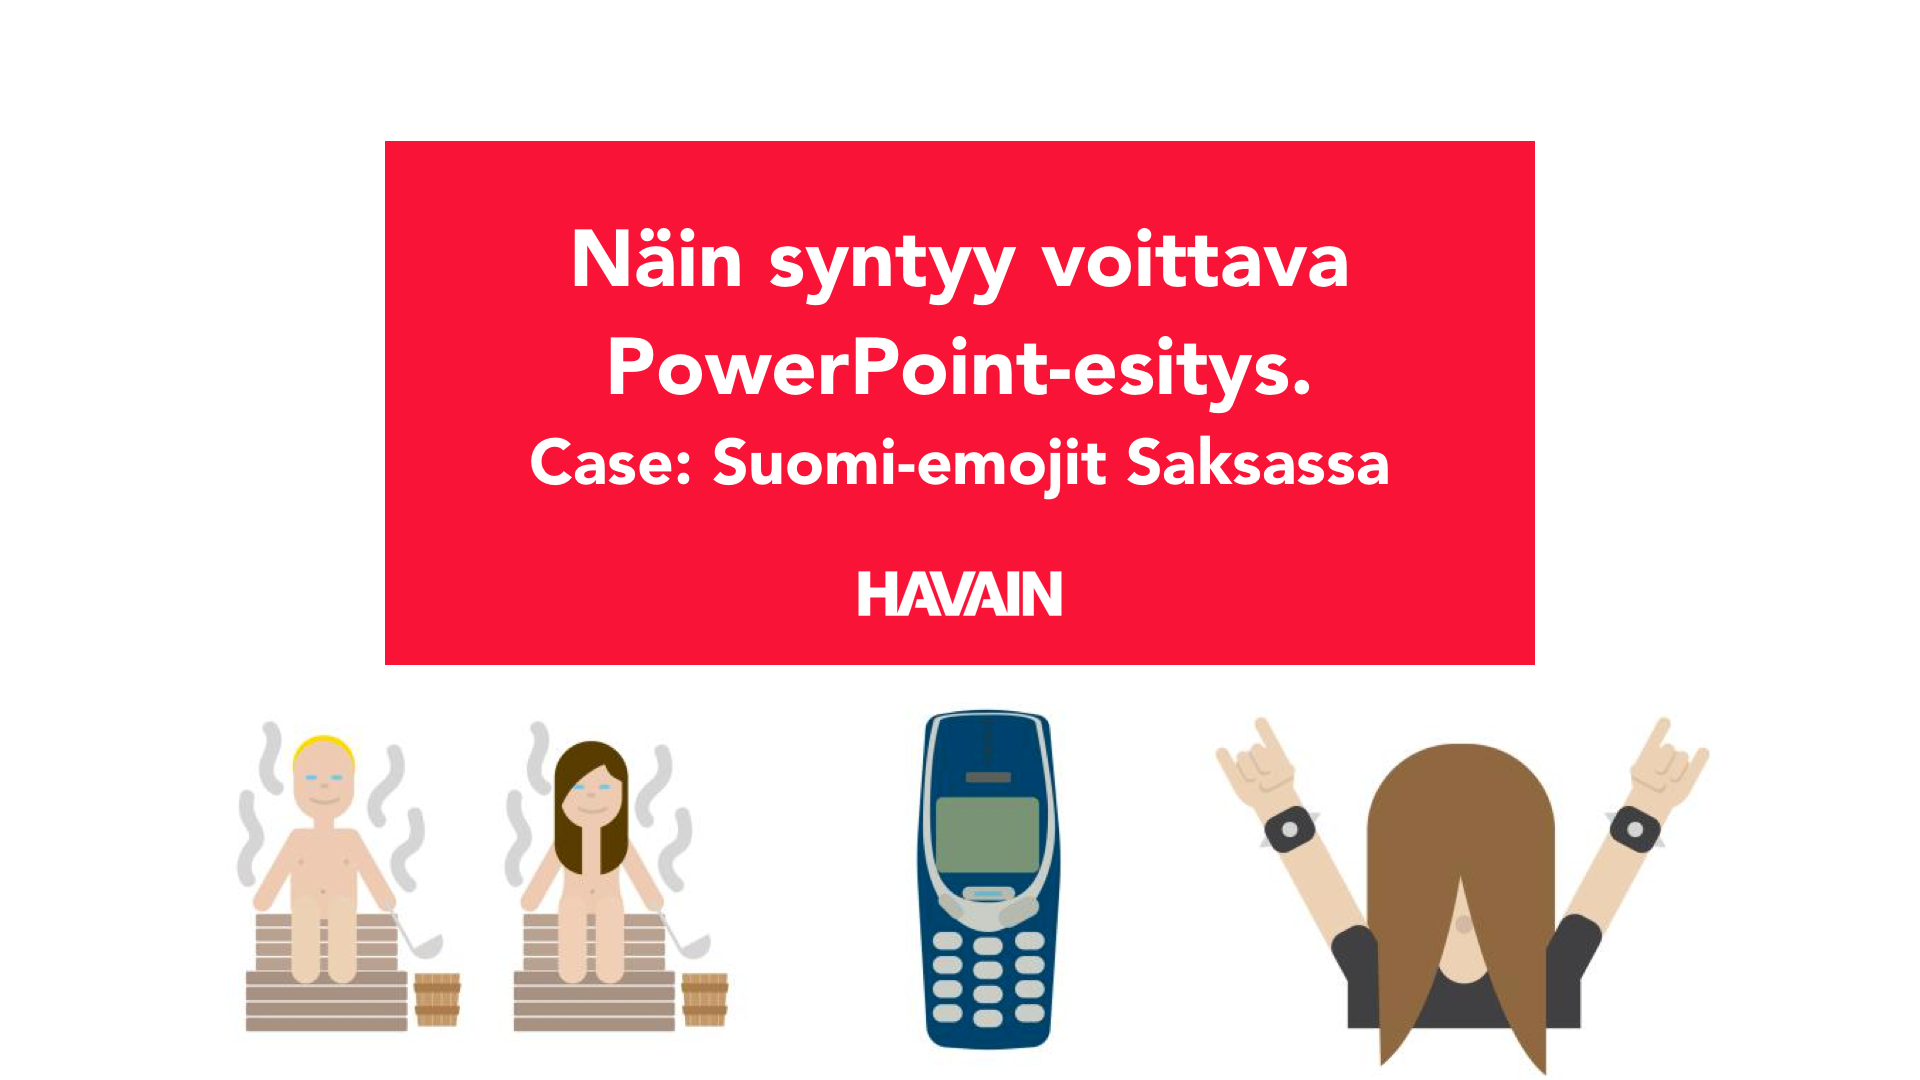
Otherwise, you can put the content inside a solid color shape such as a rectangle or a circle.
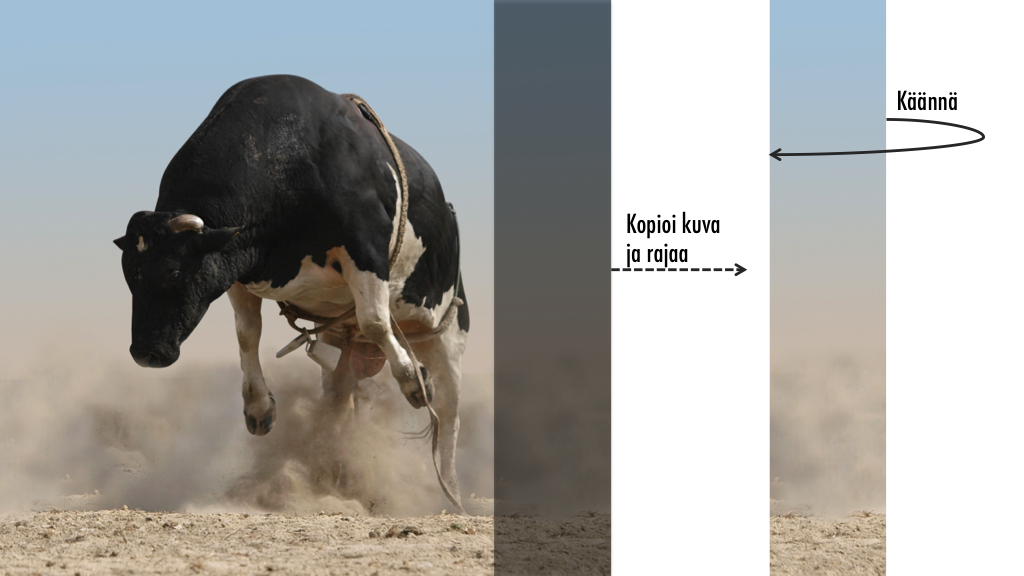
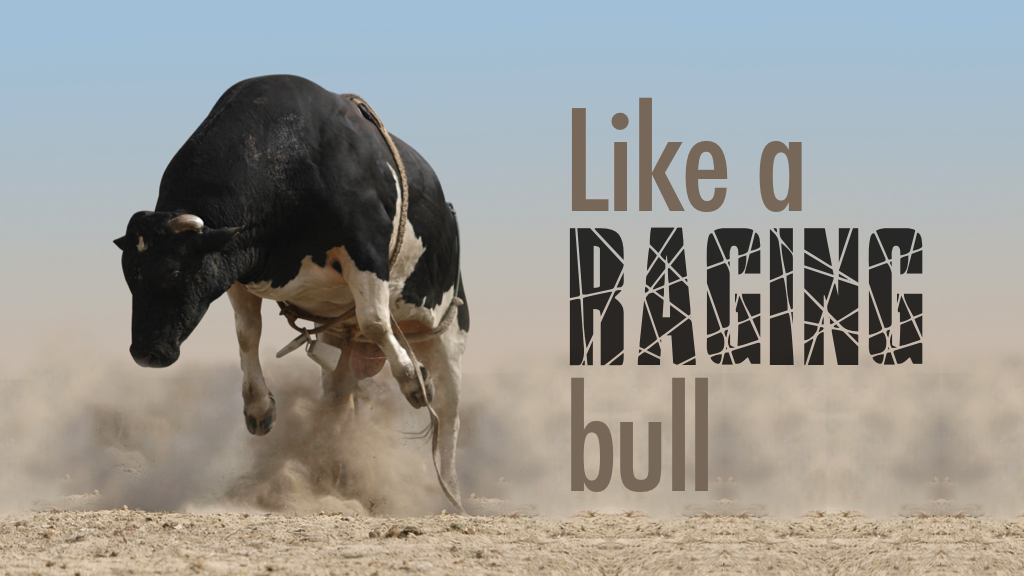
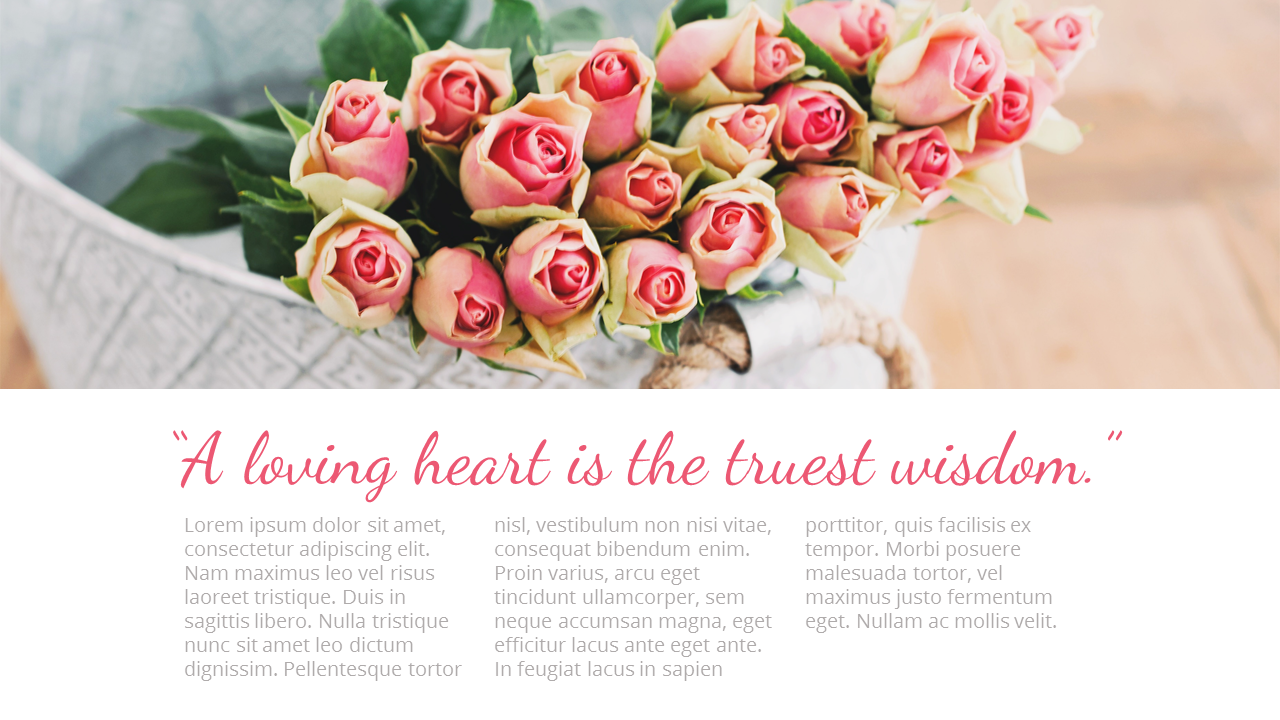
Another way is to crop the photo to reserve the space for the content. You can try different layout to find the most suitable one for the photo and the content.
You can also use different shapes and vectors filled with the photos to create a fresh-looking to the presentation.

2. Using a video as motion slide background
To create more dynamic slides, you can try using motion background for the slide. Free motion backgrounds can be found at Videezy or Videvo.
Firstly, you need to drag-and-drop the motion background video to PowerPoint. Afterward, clicking on the video and navigate to the Playback tab under Video Tools. Then change the Start option from On Click to Automatically and remember to tick the box of Loop until Stopped.
You can also freely format the video, crop and adjust brightness or contrast by right-clicking on the video and choose Format Video.
3. Using a single color/gradient for slide background
It will be easier to choose a solid color or gradient for your slide background if you follow the first way of editing the slide background that I mentioned above. However, if you prefer a flexible way, you can create a full-bleed rectangle that fits the slide and fill it with a single color or gradient.
Remember to apply the color theory to achieve the better contrast between the background and the content. You can check out the basic color theory here: Color theory & how to choose the right colors for your design
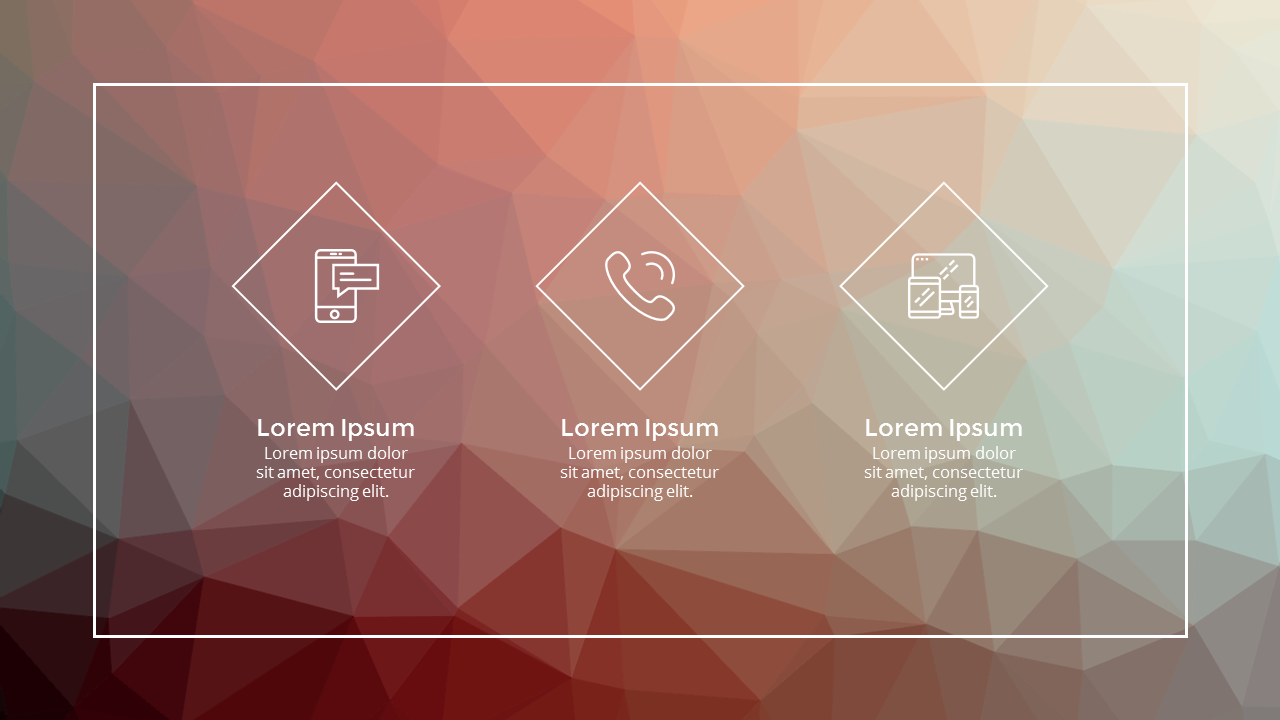
4. Using geometric/polygonal slide background
Geometric (or polygonal) background has been trendy for awhile, and I believe it would still stay trendy for a longer period. To generate a polygonal background, we can use a free tool called Trianglify Background Generator. With this tool, you can generate your own polygonal background based on most-loved color palettes on Colour Lovers. You can also freely adjust the width, height, cell size, cell padding and bleed to your preference.
Once downloaded, you can just drag the background to your slide.
However, if you feel that the polygonal slide background is taking too much attention from your content, you can try blurring the photo in Artistic Effects with the radius of 100. You can read more about how to do it from my previous blog post – Photo editing in PowerPoint.
These tips above are my suggestions to PowerPoint background. I hope you enjoy them and find your favorite tip. If you have any question regarding the steps, or you would like to add your own suggestions, please feel free to comment below!
We are also updating blog posts about other tips and features in PowerPoint, such as how to remove background photo in photo editing. If you want to know more, stay tuned and subscribe to us!