
In my previous blog about Morph, I have mentioned some basics of using Morph in PowerPoint. However, there are still a lot of tips and tricks that you can use to take full advantage of this magic tool. Though I was not able to put all of them in my previous post, so I will show you how powerful Morph can be in this post. Are you still with me? Let’s continue our journey of exploring the limitless capability of Morph!
In part I, I have introduced how to use Morph to create entrance/exit animation, and also zoom in/zoom out effect. They are pretty much basic, however, in this post, we are going to take Morph to the next level with the tips and tricks as follows.
1. Using Morph to navigate
If you have ever worked with Prezi, you know its famous zooming and navigation ability. In PowerPoint, you can do exactly the same effect, with the help of Morph.
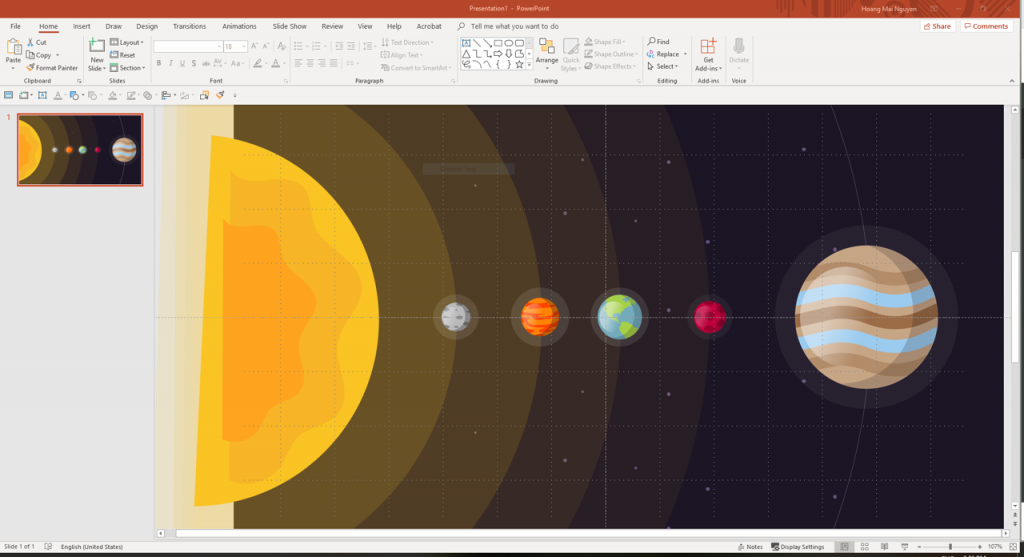
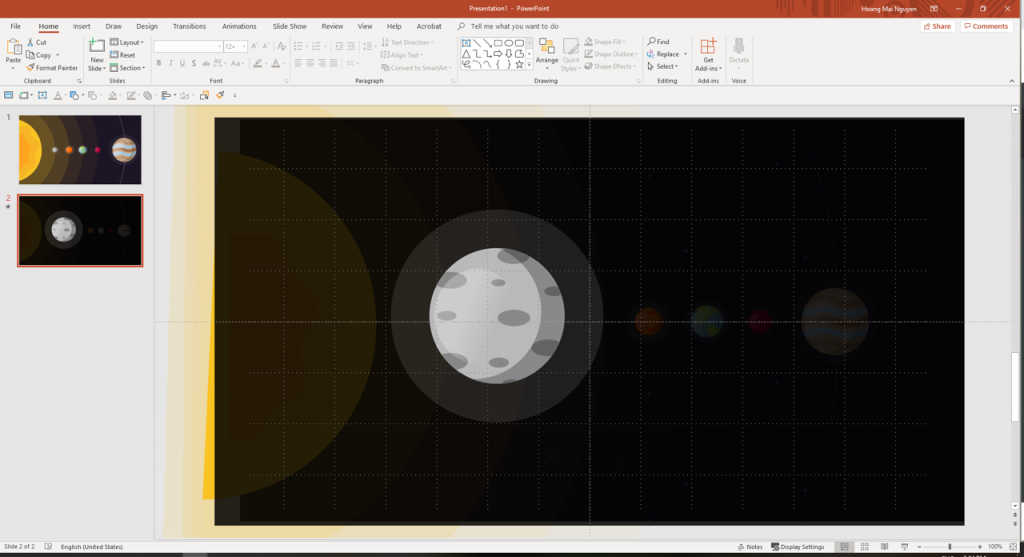
Imagine a scenario when you need to present information on couples of things (for example, a solar system). Instead of having a normal deck like this…
…we could turn into something like this?
So how did I do it? Basically, I combined the 2 previous tips I have shown you before (entrance/exit animation and zooming effect) to get this one:
- Create a simple slide of the solar system with the Sun, Mercury, Venus, Earth, Mars and Jupiter, and a background photo of the universe. Let’s put it as slide 1.
- To present the information of Mercury, firstly I duplicate slide 1 to get slide 2. Then I enlarge Mercury so that it becomes the main object of the slide, and resize all of other planets to be smaller. I also move them closer to each other to get the space for Mercury.
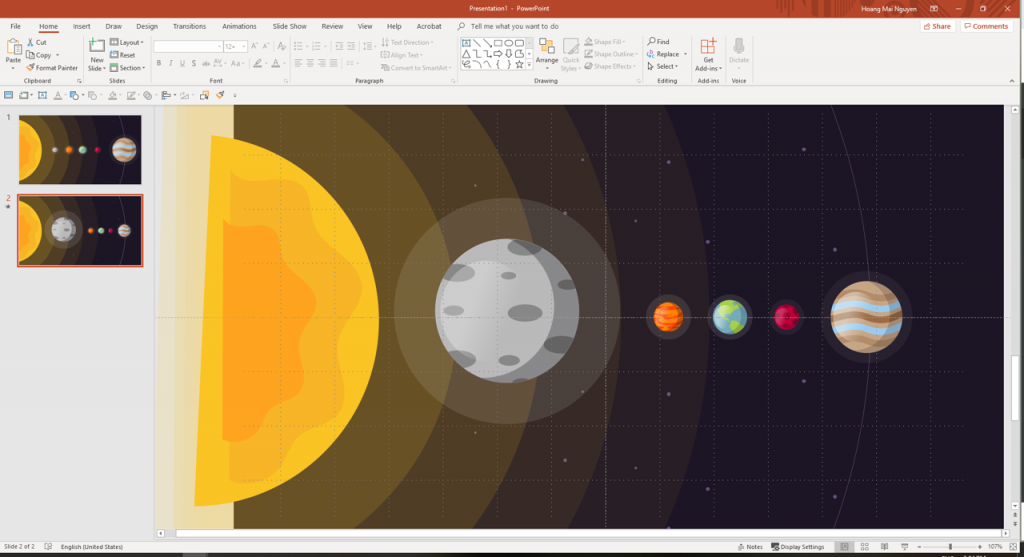
- To make Mercury stand out better, I also insert a semi-black rectangle with 15% transparency and put it on top of other objects except for Mercury.
- Now let’s put the final touch to the slide by adding some information about Mercury on the slide. I also add a Fade animation to the text so that it will slowly appear when I click by choosing the texts > go to Animation > Choose Fade.
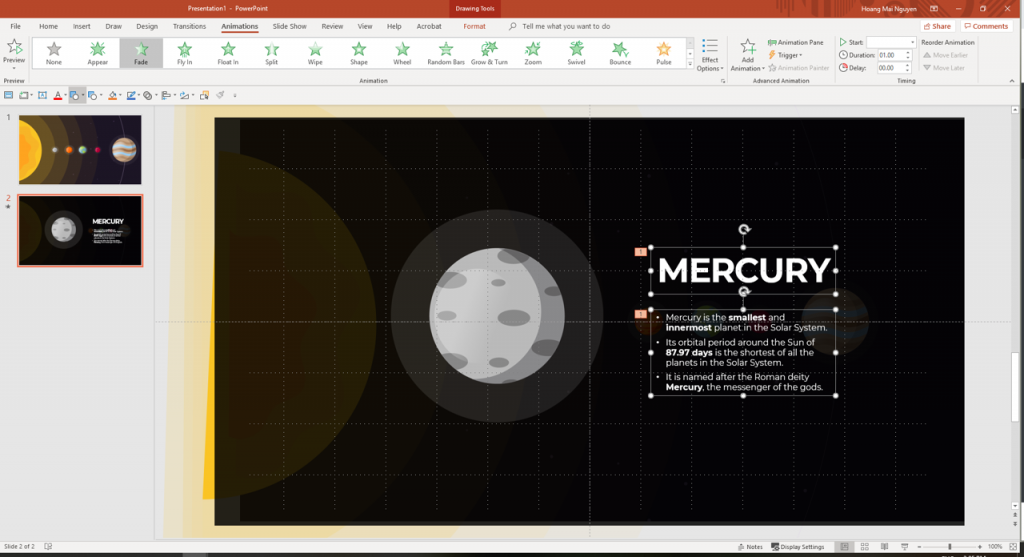
And voilà! This is what you are going to get – a dynamic slide about Mercury.
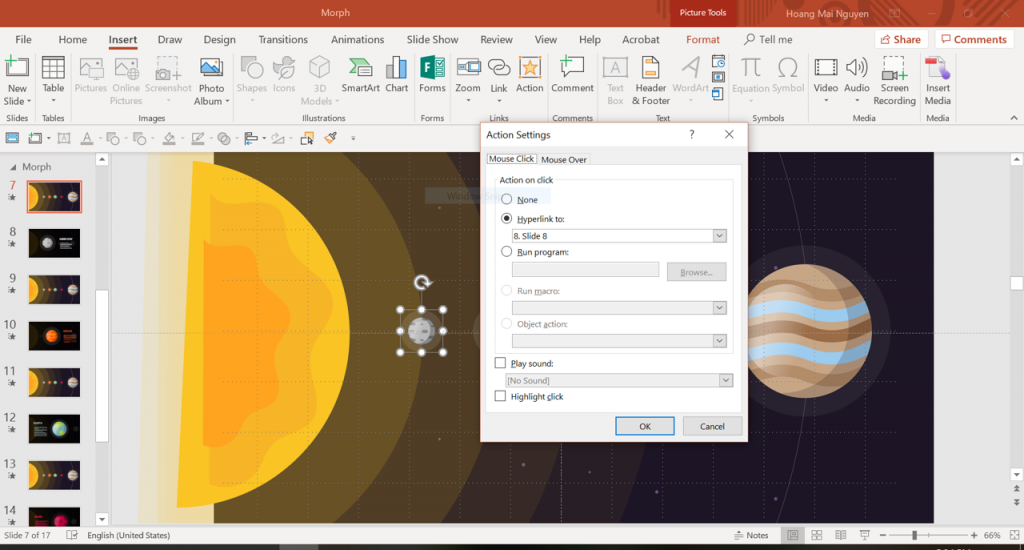
After that, repeat the steps with other planets as well, and you are going to get an exciting, impressive slide deck about inner solar system 🙂 I also add the navigation by choosing one planet > go to Insert > Action > in the Hyperlink to… box, I choose the slide where that planet information is shown (in this case, Mercury slide is slide 8).
I also repeated the step with other planets as well, now I can easily navigate around in the slide. And this is the final result! Are you happy with it?
2. Make a crop & scroll transition
From the previous tips, I guess you now already possess a basic knowledge on how Morph works for objects, but what about using Morph for photos? One simple, but yet still very impressive transition will be achieved if you use Morph while you crop a photo.
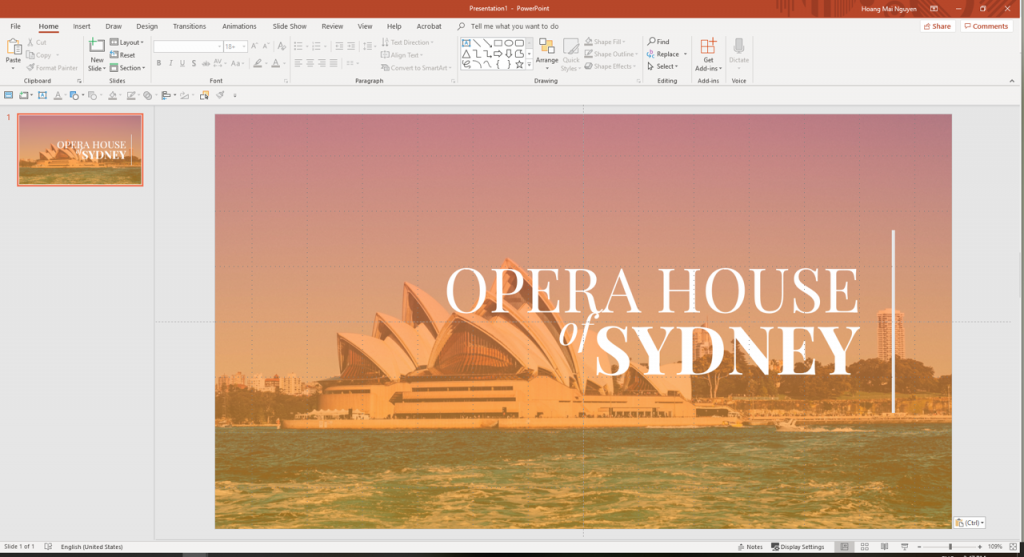
Let’s take a look at one example: I have 2 slides with the same picture
- On the 1st slide, I have the photo with the full-screen size
- On the 2nd slide, I just want to have that photo as 1/3 of the slide to reserve space for some text. Therefore, I would click at the photo, go to Picture Tools/Format > Crop to crop the photo. I also move the photo to get it to the desired place.
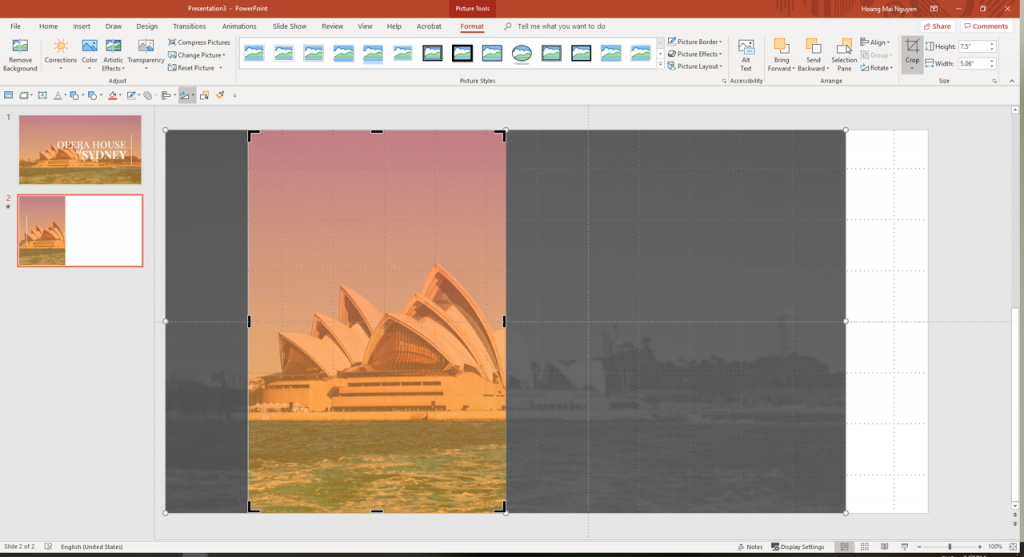
And now I’d apply Morph as the transition. Let’s see what happen with the photo now! What do you think about it? In my opinion, the transition is simple, yet still very elegant!

The result looks even more exciting when I crop the photo to another shape (in the example, I chose parallelogram). You can choose to crop the photo in different shape by going to Picture Tools/Format > Crop > Crop to Shape, and choose the shape you like.

The result for me now looks like this:
That’s how I normally use cropped photos for transitions among slides. But I also mentioned about scroll transition, so what is it and how does it look like?
The reason why I called it ”scroll” transition is that it creates an impression like you would be scrolling a web page. And this transition is really simple: You just need to use the same image on 2 slides, but in opposite place. For example, I use the same cropped image from the previous example, but on the first slide I put in on the right side of the slide, and on the second I left in on the left side. Here is the result:

You can also use this foundation idea for different effects, and this is exceptionally beneficial if you want to use PowerPoint to present your responsive UI/UX design! 🙂
3. Morph a shape
Okay, now you know that Morph can help you create the moving effect for objects, but do you know that Morph can actually ”morph” a shape – for example, from a square to a circle?
You might think that it’s easy at first if we applied what we have known about Morph’s core idea: Firstly create a slide with a square, then duplicate the slide and change the shape of the square to circle. But when we try to apply Morph on the 2nd slide, the effect doesn’t seem like what we expect: the square fades away, then the circle fades in:
Why?
The reason is that Morph doesn’t work with default shapes in PowerPoint (default shapes are the shapes you can easily create with the Shape tool).
So how to fix this? We just have to modify the default shapes into a free-form shape. This will be achieved if you right click at the shape, and choose Edit Points. If you have read my previous blog on How to use shapes in PowerPoint, you might already know about this tool 🙂
By using Edit Points feature, I’d move the point that forms the square and the circle a little, so that together they are no longer a default, but become free-form shapes. However, the shapes still stay (almost) the same. Now when I applied Morph on the 2nd slide, we will achieve the desired effect!
Now we have known that Morph can be applied for free-form shapes, we can take advantage of it by using Morph for vector graphics that we created/got from online sources. To understand what is a vector graphic how to use it, please check out my previous blog here 🙂
I’d use some vector graphics about transportation and then break them into PowerPoint free-form shapes (please check out the blog How to use vector graphics in PowerPoint to know how to do the magic!). After that, I applied Morph on these slides, and let’s check out the result!
4. Use Morph for 3D objects
Do you still remember when I first presented the blog about 3D objects when they first came to PowerPoint? I promised you to talk about Morph, and now it’s time for me to fulfill it 🙂 If you have read my blog about 3D objects, you might have an understanding about how to use Morph with 3D models already, but I can talk again about it this time.
The main purpose of 3D objects, in my opinion, is to showcase tangible products/objects. But in order to showcase, you’d need to be able to rotate it into different dimensions, and that’s when Morph comes into play. For example, please take a look at my example in showcase a 3D-apartment with help from Morph:

It’s really easy and quick, as long as you just follow the same steps to create a Morph transition as I mentioned on the Morph blog post (part 1):
- Firstly, create a slide (1) with the 3D-model(s), then duplicate it. Now we have slide (2).
- Make edits to the 3D-model(s) on slide (2), e.g. rotate it to another dimension.
- Apply Morph on slide (2).
Let’s try and experiment the wonderful combination of 3D-models and Morph yourself! Do you like it? Please share with us your impressions on the comment section! 🙂
5. Create an Anagram effect with Morph
My last (but not least!) tip for you to use Morph is a fun experiment that I’ve briefly mentioned on the Morph: Part 1: Create an Anagram effect with Morph Characters.
I bet that most of you have heard, or seen of Anagram, but if you haven’t, here is a Wikipedia’s definition: ”An anagram is a word or phrase formed by rearranging the letters of a different word or phrase, typically using all the original letters exactly once.”
My all-time favourite anagram comes from Harry Potter (and yes, I’m a proud Potterhead!), and it is when Tom Marvolo Riddle revealed himself to be Lord Voldemort. Do you remember the scene when he waved the wand and rearranged all the characters in Harry Potter and the Chamber of Secrets? Actually, we can create (almost) the same spell even without any wand, with the power of Morph from PowerPoint! Here is how the spell is created, and it follows the same process as other Morph tricks:
- Firstly, create a slide (1) with the text ”Tom Marvolo Riddle”, then duplicate it. Now we have slide (2).
- Edit the textbox on slide (2) into ”I am Lord Voldemort”
- Go to Transition > Morph > Choose Characters on the Effect Options box.
This is my quick and simple result, but I bet you can totally make something better than this! 🙂
Phew, finally I have managed to present you all of my limited knowledge about this amazing tool! Thank you for being with me throughout this wonderful journey to understand one of the most powerful PowerPoint features. Do you like Morph and the tricks and tips I’ve mentioned above? What is your favourite trick that you are going to use for your upcoming presentation? Share with us below!
And if you have any other Morph tips, please do not hesitate to share in the comment section! – ”Knowledge increases by sharing but not by saving.” 😉
If you enjoy reading about PowerPoint and presentation design, check out these blogs too!
- Placeholder and the magic of it in PowerPoint
- Introducing new PowerPoint feature: 3D Models
- How to better use PowerPoint shapes?
- How to use vector graphics in PowerPoint
…and stay subscribed for our upcoming blogs! See you next time! 🙂