
Moving from text and bullet points to highly visual presentations is always a good choice. The focus of your presentation audience is where it belongs – in yourself, the presenter, and the speech. It also improves retention rate – people remember better presentations that use the power of visuals.
Using high quality visuals also improves the overall experience of quality in your presentation. See this one slide example of the effect of moving from bullet points to high quality visuals. It´s just a minor change, but the quality of the presentation improves immediately.
Moving from bullet points and text to high quality images and graphics can have many positive effects, but it also brings along one very practical problem – your PowerPoint file size can get out of hands. If you do not resize your images at all before you insert them on your slides your file size can be quickly above 100 MB. If you need to email that big a file to your colleagues, clients or conference hosts, you can run into serious problems.
Here´s three practical solutions how to reduce PowerPoint file size and how to manage with high quality graphics in your presentation.
1. Use PowerPoint’s own tool to compress images
PowerPoint has its own tool for compressing images. You can find it by double-clicking any image file in your presentation and going to Picture Format tools.
Here is a wrap up of the basic selections you need to make
- How much would you like to compress the images. PPI stands for Pixels per inch. The exactly right PPI selection depends on the size of your photos, but in 80% of cases you can use either Print quality (220 ppi) or Screen quality (150 ppi). Email quality (96 ppi) compresses your images too much and with high fidelity or HD you usually cannot get under the emailable size limit.
- Do you want to delete image areas that have been cropped outside the visible area. If you choose to do this PowerPoint will delete areas of the image that have been cropped away. Deleted image area will be directly reduced from the file size. This also means that you cannot change the crop any more.
- Do you want to compress all images or just the one you have selected. Sometimes you may have just one image that explodes the file size – therefore it can be useful not to compress all images, but just the huge one.
If you use PowerPoint 2016 you have bit more options of how you can compress your file size than with older versions of PowerPoint. With older versions of PowerPoint the quality of compressing was not always that good therefore it is useful to have other tricks in your back pocket.
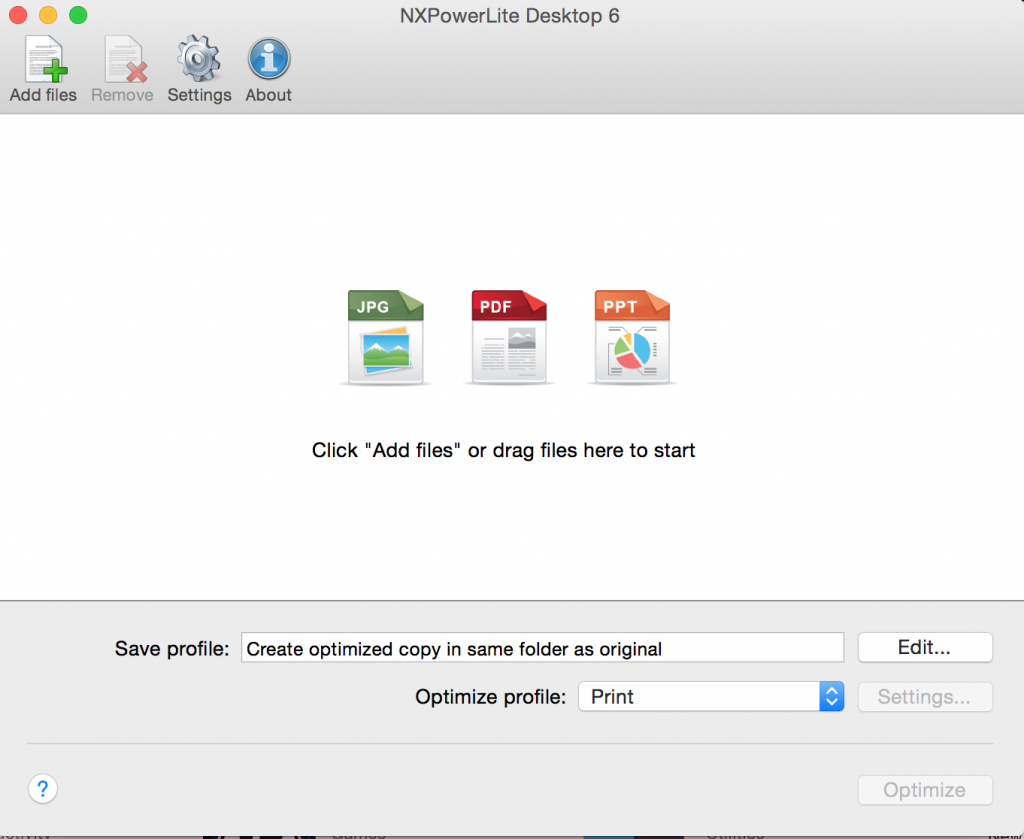
2. Use NX Powerlite
NX Powerlite is a very handy tool especially if you use older versions of PowerPoint, or if you use some other tool to create your presentation and want to email it as PDF.
You simply drag and drop your file in it and it goes through file slide by slide and it optimizes the images. In NX Powerlite you can also choose how much you would like it to compress your images with selection of either Print quality or Screen quality.
It does way better job than PowerPoint’s native tool especially if you use older version than PowerPoint 2016.
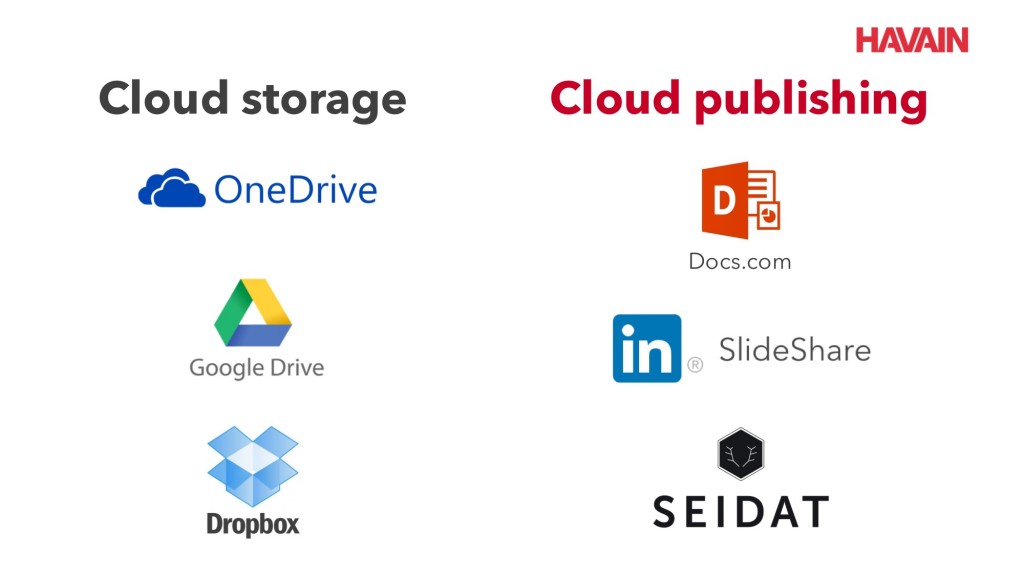
3. Use a cloud based storage or publishing
In some cases you just cannot escape the file size problem. If you especially want to emphasize quality in your presentation, you cannot settle for pixelated or otherwise low quality graphics.
In this case you need to either share your presentation as a file link. Some of the most popular cloud bases storages are:
- OneDrive – which is included if you subscribe to Microsft Office365. PowerPoint and OneDrive work quite seamlessly together.
- Google Drive – which is probably your go to storage if you use Google Apps in your work
- Dropbox – which is one of the most popular cloud storages (and has the most intuitive user experience in my opinion)
Or you can publish you presentation on one of these services:
- Docs.com – it´s Microsoft own publishing service. The benefit is that is supports all of the native features of Office documents
- LinkedIn Slideshare – world’s most popular presentation site. Slideshare’s downside is that you may need to jump through some hoops to get your presentation to look right
- Showell – Showell is the all-in-one sales enablement platform to manage, present, share, and track your sales content.
- Seidat – Our partner company’s presentation solution helps with easy sharing of your presentation
Here´s some related reading: